Bike racks are a helpful way to bring your bike with you on a trip. A bike rack can make it easy to bring your bike with you, whether you’re camping for the weekend or need to get your bike to a spot.
But if you’ve never done it before, putting a bike rack on your car can seem hard.
In this article, BSXInsight will provide a step-by-step guide on how to install a bike rack on your vehicle so that you can safely transport your bike wherever you go.
Why Are Bike Racks Important?

1. Free Up Car Space
Bike racks help free up car space, which is especially important if traveling long distances or having multiple pieces of equipment to transport.
Trying to fit a bike inside a car can be challenging, and it often takes up valuable space that could be used for other items.
With a bike rack, you can easily mount your bike outside your vehicle, freeing up valuable space inside your car for other items.
2. Protect Your Bike From Transport Damages
Transporting your bike inside your car can be jostled around, potentially leading to scratches or other damages. A bike rack securely holds your bike in place and keeps it safe during transport. This can save you the cost and hassle of repairing any damages that may occur during transport.
3. Provide Better Bike Visibility
When you mount your bike on the back of your car, it is much more visible to other drivers on the road.
This is especially important when driving on highways or in busy traffic areas. The added visibility can help prevent accidents and ensure other drivers can see your bike on the road.
How To Install A Bike Rack?
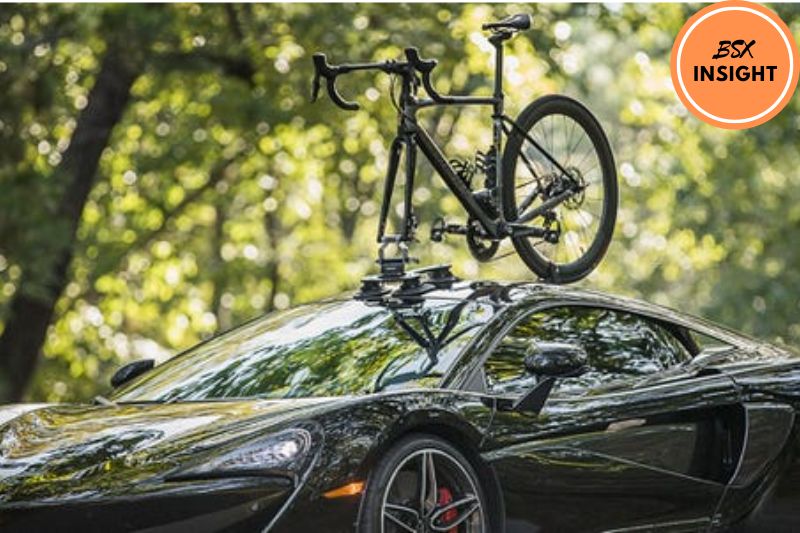
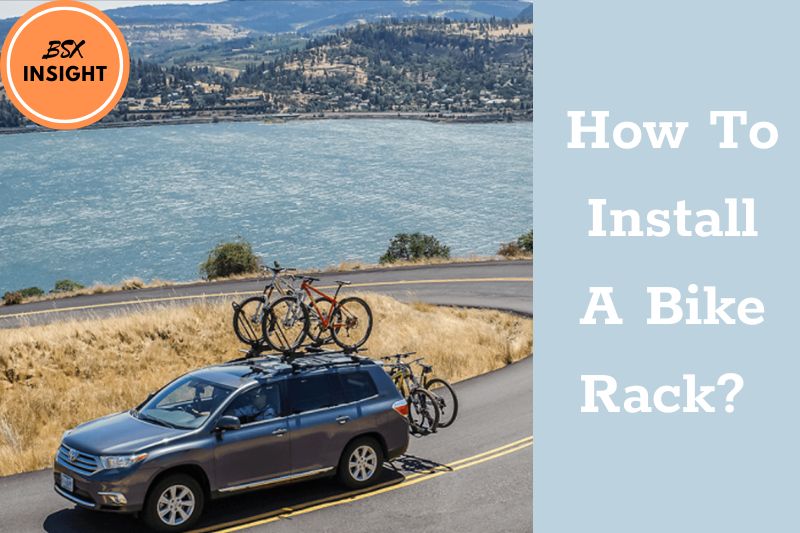
1. On a Car
Installing a bike rack on a car is one of the most common ways to transport bikes. There are several bike racks, including roof-mounted, hitch-mounted, and trunk-mounted racks.
Each has its advantages and disadvantages, so consider your car type and how many bikes you want to transport before choosing a rack.
Choose the right bike rack:
The first step in installing a bike rack on a car is to choose the right one. Consider the type of car you have, the number of bikes you want to transport, and your budget.
Roof-mounted racks are great for transporting several bikes but can be expensive and difficult to install. Hitch-mounted racks are more affordable and easier to install, but they may not be compatible with all vehicles.
Trunk-mounted racks are the most affordable option and easy to install, but they may not be as secure as the other two options.
Installing the bike rack:
Once you’ve chosen your bike rack, it’s time to install it. Follow the manufacturer’s instructions carefully, attaching the rack securely to your car.
This may involve using straps, bolts, or other attachments to ensure a tight and stable fit. If you’re unsure how to install the rack, consider asking a professional for assistance.
Add double security:
Use a bike lock to secure your bike to the rack, adding double security. This will provide added protection against theft, especially if you plan to leave your bike on the rack for an extended period.
It’s also a good idea to check the locking mechanism on your bike rack to ensure it works properly.
Check how stable your rack is:
Finally, before hitting the road, check how stable your rack is. Please give it a good shake to ensure that it is firmly attached to your car and that your bike is secure. This will give you peace of mind and help prevent any accidents or damages during transport.
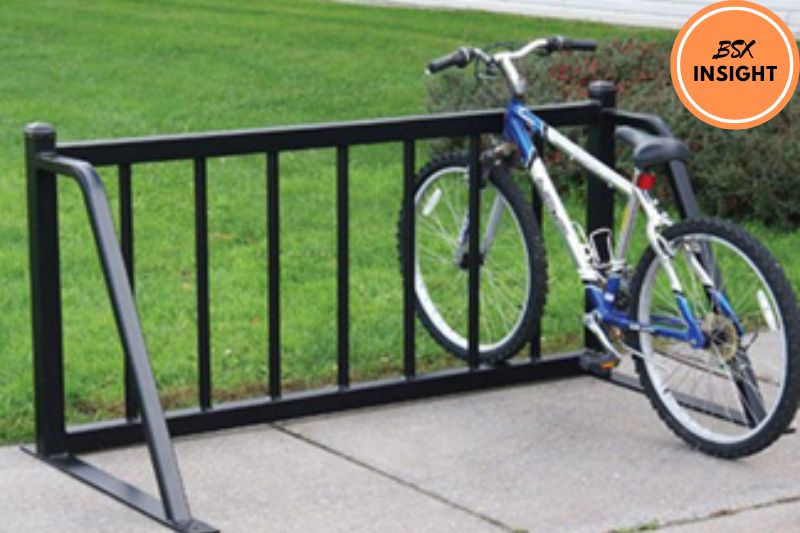
2. On Concrete
Here are the steps to install a bike rack on concrete:
- Choose the location: Choose a location in your garage or other indoor space that is out of the way and won’t interfere with other activities.
- Mark the holes: Mark the location of the holes for the bike rack. Make sure they are evenly spaced and in the correct position.
- Drill the holes: Use a drill to create the holes for the bike rack. Be sure to use the correct size drill bit for the screws that came with your bike rack.
- Install the bike rack: Use screws to attach the bike rack to the concrete. Tighten them securely to ensure the bike rack is stable and won’t come loose.
3. On Asphalt
Here are the steps to install a bike rack on asphalt:
- Choose the location: Choose a location on your driveway or other outdoor space that is out of the way and won’t interfere with other activities.
- Mark the holes: Mark the location of the holes for the bike rack. Make sure they are evenly spaced and in the correct position.
- Drill the holes: Use a hammer drill to create the holes for the bike rack. Make sure to use the correct size drill bit for the screws that came with your bike rack.
- Install the bike rack: Use screws to attach the bike rack to the asphalt. Tighten them securely to ensure the bike rack is stable and won’t come loose.
- Add extra support: Add additional support to your bike rack using an anchor bolt or other anchoring system. This will help to ensure that the rack stays in place and doesn’t tip over
4. On Pavers
Installing a bike rack on pavers can be a little more challenging than other surfaces, but it’s still possible. Here are the steps to install a bike rack on pavers:
- Choose the location: Choose a location on your pavers that is out of the way and won’t interfere with other activities.
- Mark the holes: Mark the location of the holes for the bike rack. Make sure they are evenly spaced and in the correct position.
- Drill the holes: Use a hammer drill to create the holes for the bike rack. Use the correct size drill bit for the screws that came with your bike rack.
- Install the bike rack: Use screws to attach the bike rack to the pavers. Tighten them securely to ensure the bike rack is stable and won’t come loose.
- Add extra support: Consider adding additional support to your bike rack by using an anchor bolt or other anchoring system. This will help ensure the rack stays in place and doesn’t tip over.
5. Natural Surfaces
Here are the steps to install a bike rack on a natural surface:
- Choose the location: Choose a location that is flat and level. Avoid areas that are prone to flooding or erosion.
- Clear the area: Clear any debris, rocks, or other obstacles interfering with the installation.
- Dig the holes: Use a post-hole digger to create the holes for the bike rack. Make sure they are evenly spaced and in the correct position.
- Install the bike rack: Use screws or stakes to attach the bike rack to the natural surface. Tighten them securely to ensure the bike rack is stable and won’t come loose.
- Add extra support: Consider adding support to your bike rack using an anchor bolt or other anchoring system. This will help ensure the frame stays in place and doesn’t tip over.
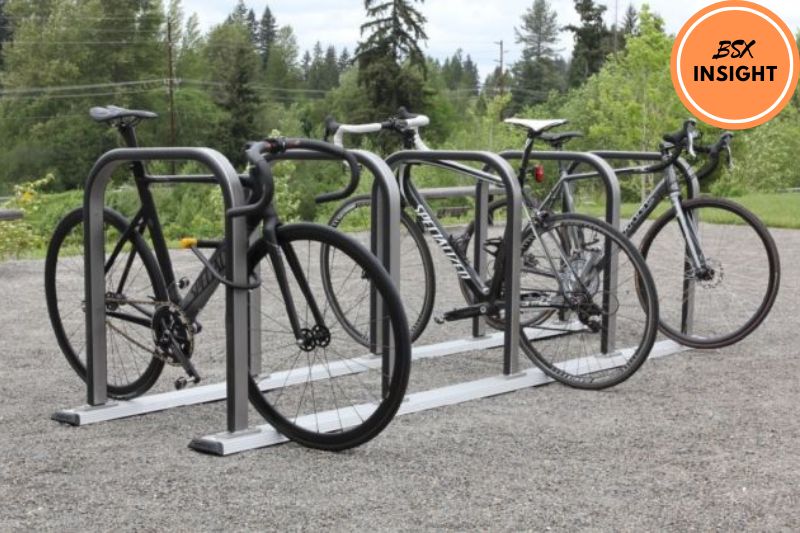
Bike Rack Installation Methods

1. In-ground Installation
This method involves digging a hole where the bike rack will be installed. The bike rack is then placed in the hole, and the gap is filled with concrete to secure the bike rack in place.
In-ground installation is ideal for locations where the ground is soft and there is no existing surface to mount the bike rack on.
2. Surface Mount Installation
This method involves bolting the bike rack onto a concrete surface like a sidewalk or parking lot.
Surface mount installation is ideal for locations where in-ground installation is not feasible or where the bike rack needs to be easily removable.
3. Drop-in Anchors
This method involves drilling holes in the concrete surface and inserting a drop-in anchor. The bike rack is then bolted onto the drop-in anchor.
It provides a secure and stable installation and is ideal for locations where the bike rack will be exposed to heavy usage.
4. Spike Anchor Installation Instructions
This method involves drilling a hole into the surface and inserting a spike anchor. The bike rack is then bolted onto the spike anchor.
Spike anchor installation is ideal for locations where the bike rack needs to be installed quickly and easily.
5. Wedge Anchor Installation Instructions
This method involves drilling a hole into the surface and then inserting a wedge anchor. The bike rack is then bolted onto the wedge anchor.
Wedge anchor installation is an ideal option for locations where a strong and secure installation is required.
6. Drop-in Anchor Installation Instructions
This method involves drilling a hole into the surface and inserting a drop-in anchor. The bike rack is then bolted onto the drop-in anchor.
A drop-in anchor installation is ideal for locations where a secure and stable structure is required.
FAQs

What tools do I need to install a bike rack on my vehicle?
The tools you need to install a bike rack on your vehicle will depend on your rack type. In general, you’ll need a screwdriver, a wrench, and possibly a drill.
How do I choose the right bike rack for my vehicle?
When choosing a bike rack, consider factors such as the type of vehicle you have, the number of bikes you want to transport, and the type of bike you have.
Can I install a bike rack on any vehicle?
Most bike racks are designed to fit various vehicles, including cars, SUVs, and trucks. However, it’s important to choose a bike rack that is compatible with your specific vehicle.
How do I install a trunk-mounted bike rack?
To install a trunk-mounted bike rack, you’ll need to attach the rack to the trunk of your vehicle using straps or other attachments. Follow the manufacturer’s instructions carefully to ensure that the rack is installed correctly.
How do I install a roof-mounted bike rack?
To install a roof-mounted bike rack, you’ll need to attach the rack to the roof of your vehicle using specialized mounts. Follow the manufacturer’s instructions carefully to ensure that the rack is installed correctly.
How many bikes can I transport on a bike rack?
The number of bikes you can transport on a bike rack will depend on your rack type. Most bike racks can accommodate anywhere from one to four bikes.
How do I properly secure my bike to a bike rack?
To properly secure your bike to a bike rack, use straps or other attachments to hold the bike in place firmly. Ensure the bike is securely fastened and won’t move or fall off during transit.
Are there any safety tips I should remember when using a bike rack?
Yes, it’s essential to regularly check the bike rack and bike to ensure they are securely fastened during transit. It’s also important to be mindful of the added height and weight when driving with a bike rack.
Conclusion
In conclusion, installing a bike rack can be a simple process that helps you transport your bike safely and easily. Choosing the right type of bike rack and installation method is essentially based on your needs and the surface you will be installing.
Follow the manufacturer’s instructions carefully and ensure the frame is securely installed before transporting your bike. With the right bike rack and installation method, you can enjoy cycling adventures and ensure your bike stays safe and secure during transport.