If you’re an avid cyclist, you may have noticed that your bike can be quite noisy, especially when riding on rough terrain or at high speeds. While some noise is expected, excessive noise can be a distraction and even a nuisance to others.
If you’re looking for a way to reduce the noise of your bike, you may be interested in making a bike silencer at home.
In this article, BSXInsight will explore how to make bike silencer at home, so you can enjoy a quiet and peaceful ride on your bike.
What Is a Motorcycle Exhaust Silencer?

A motorcycle exhaust silencer, also known as a muffler or a silencer, is a device that is attached to the exhaust pipe of a motorcycle engine to reduce the noise levels of exhaust gases.
The silencer works by creating a series of chambers and baffles that cause the exhaust gases to bounce around and lose energy before they exit the exhaust pipe.
This process helps reduce the exhaust’s sound levels and makes it less obtrusive.
Most motorcycles come equipped with a factory-made exhaust silencer that is designed to meet noise regulations and provide a reasonable level of sound reduction.
However, some riders may want to customize their exhaust system for performance or aesthetic reasons, or they may want to create a more effective silencer to reduce noise levels.
In these cases, making a bike silencer at home can be a cost-effective and customizable solution.
What Do You Need To Prepare?
If you’re looking to make a bike silencer at home, there are a few supplies that you will need to gather beforehand. These supplies include:
- Steel tubing: This is the main material that you will need to make your bike silencer. You can find steel tubing at most hardware stores or online, and it’s important to choose a size and length that is appropriate for your bike. You may want to take measurements of your existing exhaust pipe to ensure the tubing you purchase fits properly.
- Muffler packing: Muffler packing is a material that is used to absorb sound and reduce the noise produced by your bike’s exhaust system. You can find muffler packing at most auto parts stores or online.
- Stainless steel wool: Stainless steel wool is a material that is used to help reduce the amount of noise produced by your bike’s exhaust system. It can be found at most hardware stores or online.
- Exhaust clamps: You’ll need exhaust clamps to attach the new silencer to your bike’s exhaust pipe. These can be found at most auto parts stores or online.
- High-temperature paint: Once you’ve finished making your bike silencer, you’ll want to paint it with a high-temperature paint to protect it from rust and corrosion. High-temperature paint can be found at most hardware stores or online.
- Tools: You’ll need a variety of tools to make your bike silencer, including a hacksaw, electric drill, drill bits, pliers, clamps, and a bench vise. Make sure you have all the necessary tools before beginning your project.
By gathering all of these supplies, you’ll be well-prepared to start making your own bike silencer at home.
However, it’s important to take all necessary safety precautions when working with power tools and cutting materials.
Wear appropriate safety gear such as gloves and eye protection, and work in a well-ventilated area to avoid inhaling any harmful fumes.
How To Make Bike Silencer At Home?
1. Muffler Replacement
If your motorcycle’s muffler has rusted, become damaged, or produced too much noise, you may need to replace it.
While you can buy a replacement muffler, making a bike silencer at home is a cost-effective and easy DIY project. Here’s how to do it:
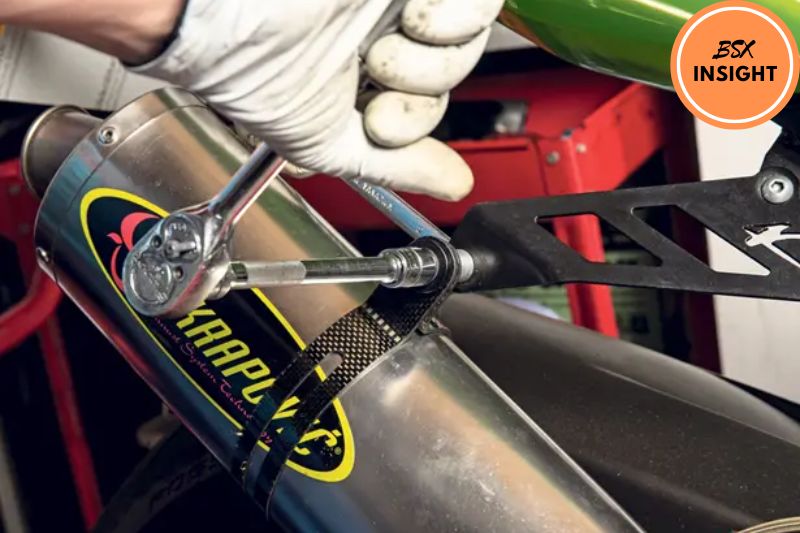
#Step 1: Remove the Old Muffler
First, you’ll need to remove the old muffler from your motorcycle. This usually involves unbolting the muffler from the exhaust pipe.
#Step 2: Cut the Metal Pipe
Using a hacksaw, cut a piece of metal pipe to the same length as the old muffler. The diameter of the new pipe should be the same as your bike’s exhaust pipe.
#Step 3: Create a Baffle
Cut a piece of metal mesh screen that is slightly smaller than the diameter of the metal pipe. Wrap the screen around the inside of the metal pipe, creating a baffle.
#Step 4: Add High-Temperature Adhesive
Apply high-temperature adhesive to the metal pipe and wrap the metal mesh screen around it. Ensure that the adhesive is spread evenly and covers the entire mesh screen.
#Step 5: Install the New Muffler
Slide the new muffler onto the exhaust pipe and tighten the bolts. Ensure that the muffler is centered and secure.
#Step 6: Test the New Muffler
The new muffler should reduce the noise produced by the engine. If the noise is still too loud, you may need to adjust the baffle or add another layer of the metal mesh screen.
2. Patch any Holes in Your Bike’s Exhaust Pipe.
#Step 1: Prepare the Exhaust Pipe
Start by cleaning the area around the hole in the exhaust pipe with sandpaper. This will help to remove any debris or rust that could prevent the adhesive from adhering properly. Once the area is clean, wipe it down with a clean, dry cloth.
#Step 2: Cut the Metal Patch
Next, cut a piece of metal that is large enough to cover the hole in the exhaust pipe. You can use a piece of metal that is cut from a sheet or purchase pre-cut metal patches from a hardware store. Make sure the metal patch is slightly larger than the hole to ensure proper coverage.
#Step 3: Apply Adhesive
Apply a generous amount of high-temperature adhesive to the metal patch. Be sure to spread the adhesive evenly and cover the entire surface of the patch.
#Step 4: Apply the Patch
Carefully place the metal patch over the hole in the exhaust pipe. Press down firmly to ensure the adhesive sticks to the exhaust pipe. Use gloves to avoid burns from the high-temperature adhesive.
#Step 5: Let it Dry
Let the adhesive dry completely before starting the engine. Most high-temperature adhesives will require several hours to dry properly. Be sure to follow the manufacturer’s instructions for drying time.
#Step 6: Test the Repair
Start your motorcycle and listen for any changes in the sound. The patch should reduce the noise produced by the hole. If the noise is still too loud, you may need to apply another layer of adhesive or consider replacing the entire exhaust pipe.
3. Exhaust Wraps
#Step 1: Measure the Exhaust Pipe
Start by measuring the length and diameter of your motorcycle’s exhaust pipe. Make sure to measure the section of the pipe you want to wrap.
#Step 2: Cut the Exhaust Wrap
Using a pair of scissors, cut the exhaust wrap to the desired length. Leave a little extra wrap on either end to ensure complete coverage.
#Step 3: Wet the Exhaust Wrap
Dampen the exhaust wrap with water using a spray bottle. This will help to make it more pliable and easier to work with.
#Step 4: Wrap the Exhaust Pipe
Start at the end of the exhaust pipe and wrap the dampened exhaust wrap tightly around the pipe. Make sure to overlap each layer by about half of the width of the wrap. This will ensure that the entire exhaust pipe is covered.
#Step 5: Secure the Wrap
Once you have wrapped the entire exhaust pipe, secure the wrap in place using metal wire ties. These can be purchased from an auto parts store or online.
#Step 6: Let it Dry
Let the exhaust wrap dry completely before starting the engine. This will ensure that it adheres properly to the exhaust pipe.
#Step 7: Test the Exhaust Wrap
The exhaust wrap should reduce the noise produced by the engine. If the noise is still too loud, you may need to adjust the wrap or add another layer.
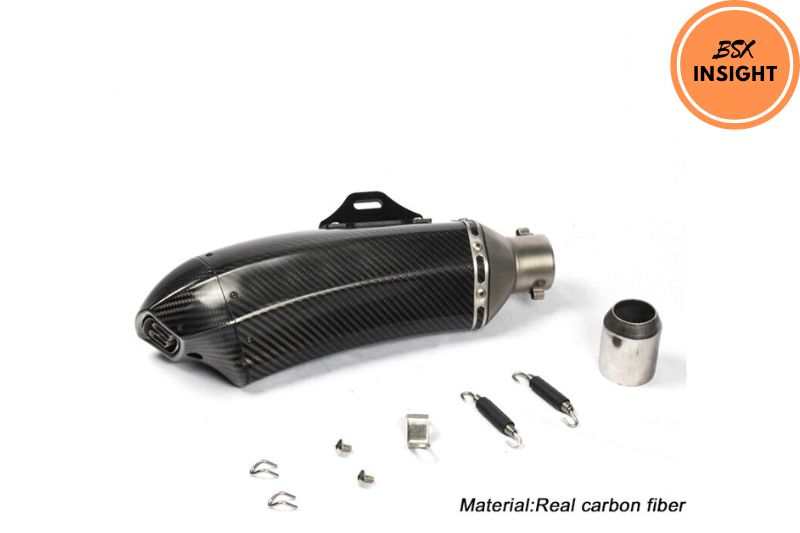
4. Change to New Pipes

#Step 1: Remove the Old Pipes
Start by removing the old exhaust pipes from your motorcycle. This will require loosening and removing any bolts or screws that are holding the pipes in place. Make sure to use the appropriate wrenches or screwdrivers for each bolt or screw.
#Step 2: Replace the Gaskets
Once the old pipes are removed, replace the old gaskets with new ones. Gaskets can wear down over time and can cause leaks in your new exhaust system.
#Step 3: Install the New Pipes
Attach the new pipes to your motorcycle, making sure that they are secured tightly and in the correct position. Use the appropriate bolts or screws to attach the new pipes to your motorcycle.
#Step 4: Seal the Joints
Once the new pipes are attached, use exhaust sealant to seal the joints. This will prevent any air leaks and ensure that the new pipes are functioning at their best.
#Step 5: Test the New Pipes
The new pipes should produce a quieter and smoother sound than the old ones. Double-check the installation and make any necessary adjustments if there are any issues.
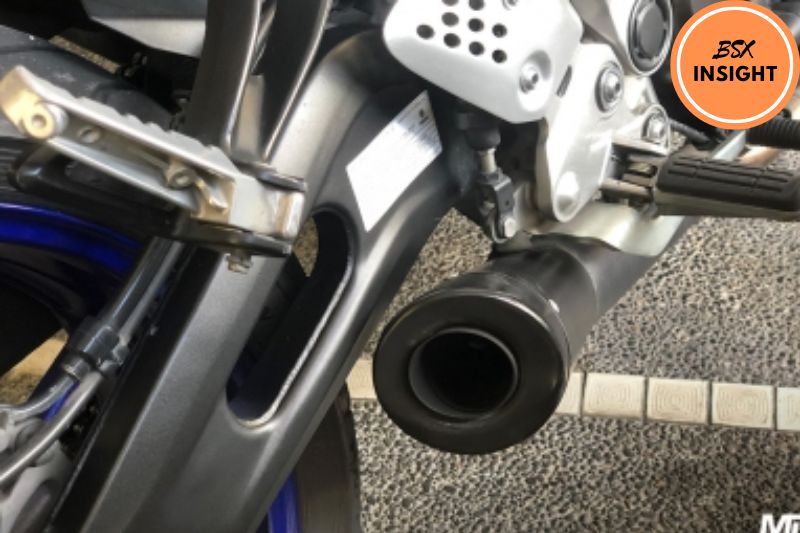
5. Routine Inspection and Servicing
- Inspect the silencer for any signs of damage or wear. Check for cracks, rust, or any other signs of damage that could affect its performance. If you notice any damage, it may be time to replace the silencer.
- Clean the silencer. Use a soft cloth and warm soapy water to clean the silencer. Avoid using abrasive cleaners or steel wool, as these could damage the surface of the silencer.
- Check the mounting brackets. Make sure that the brackets holding the silencer in place are secure and tight. If they are loose or damaged, tighten or replace them as needed.
- Check for blockages. Over time, the silencer may become clogged with debris, such as dirt or rust particles. Use a flashlight to inspect the inside of the silencer for any blockages. If you notice any, use a wire brush or compressed air to remove them.
- Inspect the exhaust system. In addition to the silencer, it’s important to inspect the entire exhaust system to ensure that it’s functioning properly. Look for any signs of damage or wear, and replace any damaged components as needed.
- Replace the silencer if necessary. If you notice any significant damage or wear, or if the silencer is no longer effectively reducing the noise of your bike, it may be time to replace it.
FAQs
Is it legal to make a bike silencer at home?
The legality of making a bike silencer at home varies by location. In some areas, making a silencer for personal use may be legal, while in others, it may be illegal. It’s important to research the laws in your area before attempting to make a bike silencer at home.
Can I use any steel tubing for my bike silencer?
No, not all steel tubing is suitable for use as a bike silencer. It’s important to choose a type of tubing that is durable and resistant to heat, as well as the corrosive effects of exhaust gases. Stainless steel tubing is a good choice for this purpose.
How do I know if my bike silencer is working properly?
You can tell if your bike silencer is working properly by the noise level it produces. If you notice that your bike is louder than usual or is producing a different type of noise, it may be a sign that the silencer is not functioning properly.
Can I make a bike silencer without welding?
Yes, it is possible to make a bike silencer without welding. One way to do this is by using clamps or other types of fasteners to secure the components together. Another option is using high-temperature adhesive or epoxy to bond the components.
How often should I perform routine inspections and servicing on my bike silencer?
It’s a good idea to perform routine inspection and servicing on your bike silencer at least once a year or more frequently if you use your bike frequently or in harsh conditions. This will help ensure that the silencer continues to function properly and reduce the noise of your bike.
Can I reuse the components of an old bike silencer to make a new one?
Yes, you can reuse some of the components of an old bike silencer to make a new one. However, it’s important to inspect the components for signs of damage or wear and to replace any components that are no longer functioning properly. Additionally, it may be necessary to modify the components to fit the design of the new silencer.
Conclusion
In conclusion, making a bike silencer at home is a cost-effective and customizable solution for reducing noise levels while riding.
While there are various methods and materials that can be used to make a silencer, it is important to ensure that the final product is safe and legal to use.
Riders should also be mindful of the environmental impact of excessive noise pollution and take steps to minimize their impact.
With proper planning and execution, a homemade bike silencer can provide a quieter and more enjoyable riding experience.