How To Raise Bike Handlebars? There are a few different ways to raise bike handlebars. One way is to use a handlebar riser, which is a small piece of hardware that attaches to the handlebars and raises them up a few inches. Another way is to simply replace the handlebars with a taller set.
Or, if you have a threaded steerer tube, you can remove the top cap and add a few spacers to raise the handlebars. Whichever method you choose, be sure to check that the handlebars are securely clamped before riding.
How To Adjust The Handlebar Height On Your Bike
The information below applies to stems and headsets with current threadless designs. Your stem is most likely threadless if bolts are pinning it to the steerer tube.
Below, we also go over how to modify a quill-style stem’s height.
- Time: 15 minutes
- Skill rating: Easy
- Cost: Free
- Tools you’ll need
- A multi-tool or a set of Allen keys
It is advised to use a torque wrench or pre-set Torq key, especially when working with carbon or lightweight parts.
A T20 or T25 Torx key is necessary because some stems, like those made by Zipp, Ritchey, and Syncros, employ Torx keys rather than Allen bolts.
A hammer for some quill stems, perhaps
How To Change The Headset Spacers
Moving the headset spacers is the first and simplest way to modify handlebar height.
When being adjusted, headset spacers pre-load the headset bearings by resting on the steerer tube of the fork.
The headset spacers on most bikes can be easily changed from 20 to 30mm above or below
the stem. The bolts in the stem are all lefty-loosey and righty-tightly standard-threaded.
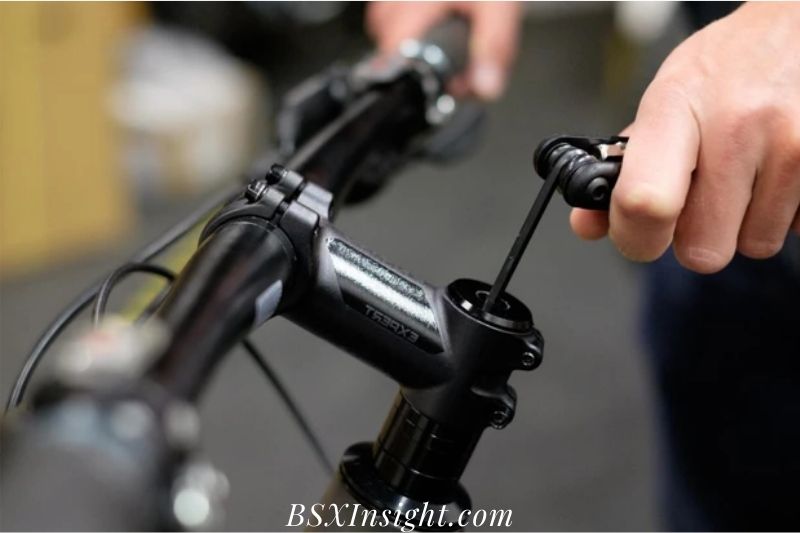
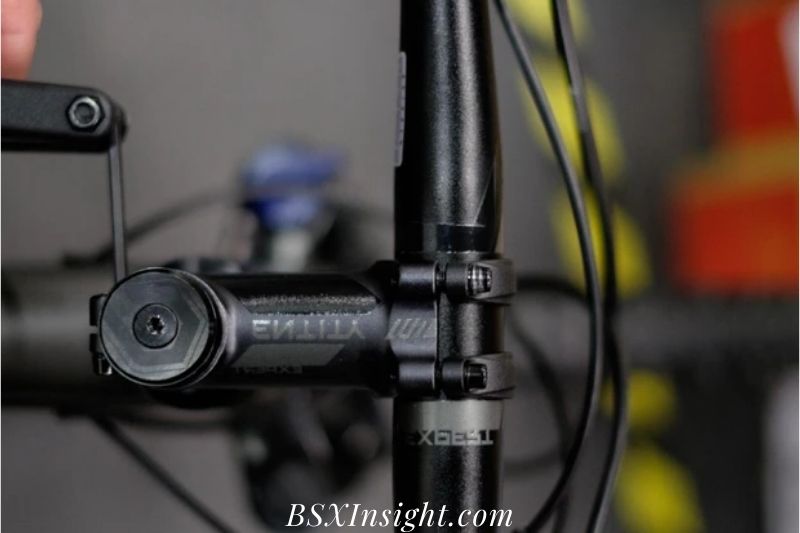
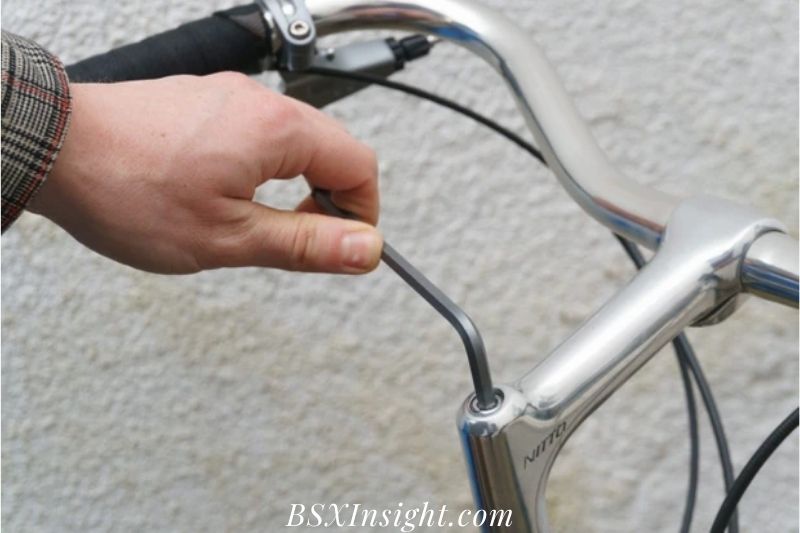
Step 1

The clamp bolts on the back of the stem should first be loosened with the bike’s wheels firmly planted on the ground.
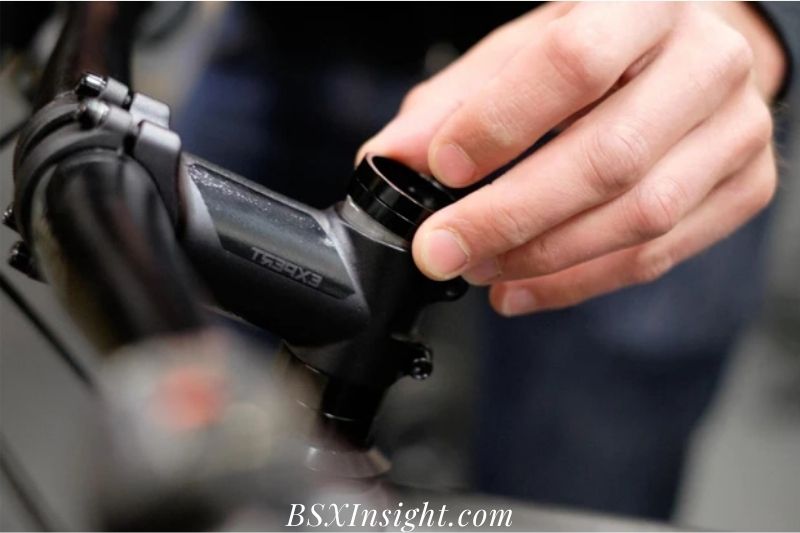
The top cap bolt, which is prone to be seized in place, is a good candidate for a little fresh grease at this time.
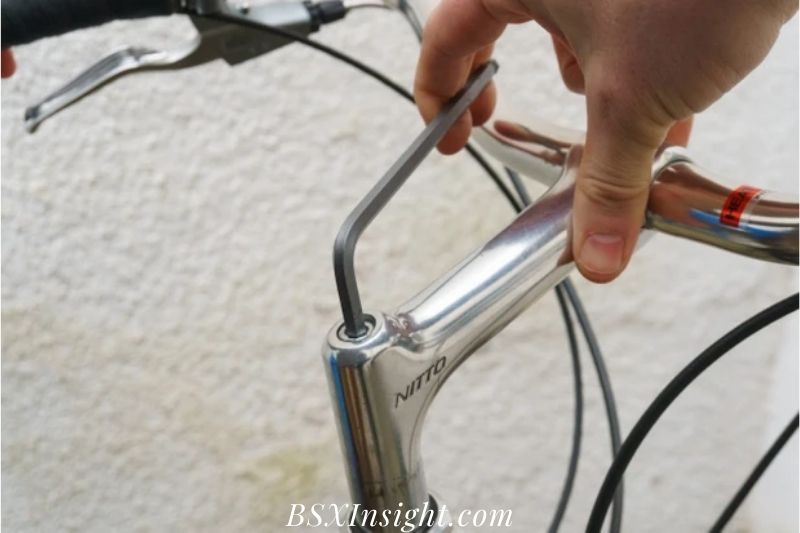
Step 2
Take off the top cap that is attached to the stem.
Step 3
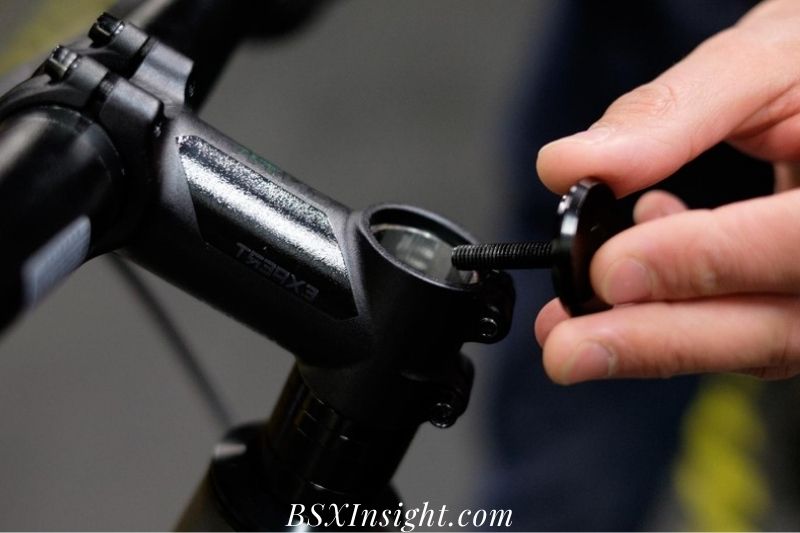
Pull the steerer tube’s stem away.
The top cap and bolt appear like this when they are undone. These parts fit into a component known as a star nut.
An expanding wedge known as a bung is typically used on a carbon bicycle. Both of these can remain in place.
Step 4
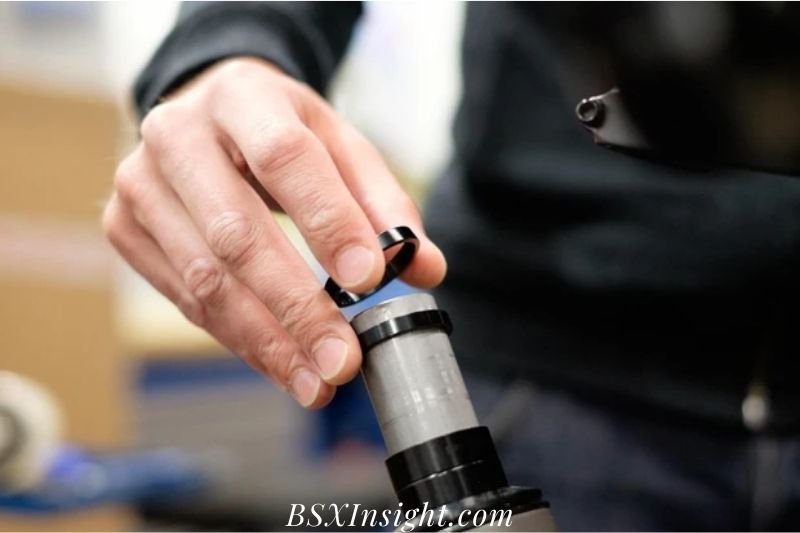
Choose how much you want to reduce or elevate your bar, then add or remove the spacer of the proper size (s).
Step 5
Reinstall the spacers you just removed above the stem and slide the stem back onto the steerer tube.
Make sure there is a 3 to 5mm space between the top of your stem/spacer and the steerer tube. This will guarantee that the headset top cap has ample room to clamp down and pre-load the headset bearing.
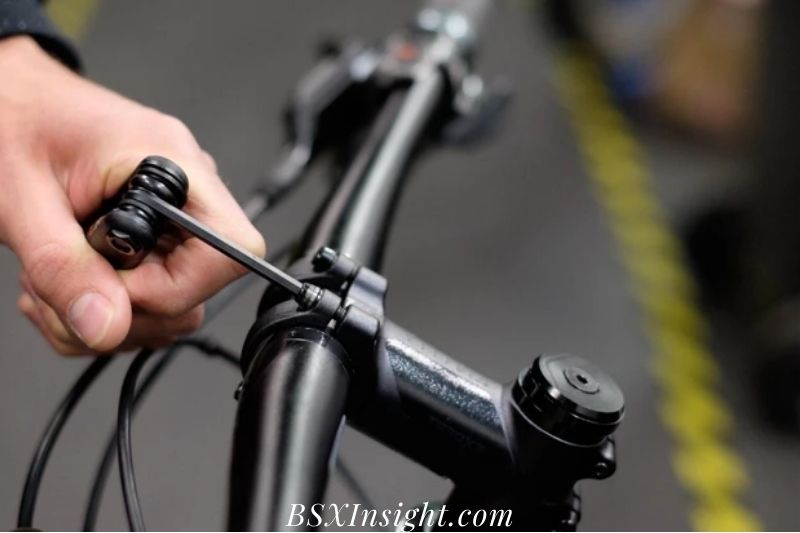
Step 6

Replacing the top cap and bolt is now complete. Tighten until you encounter resistance. The headset bearings are pre-loaded with this top cap bolt.
Step 7
After that, position the stem so that it forms a straight angle with the front wheel. It helps to straddle oneself over the top tube of the bike. This may need some patience.
Step 8
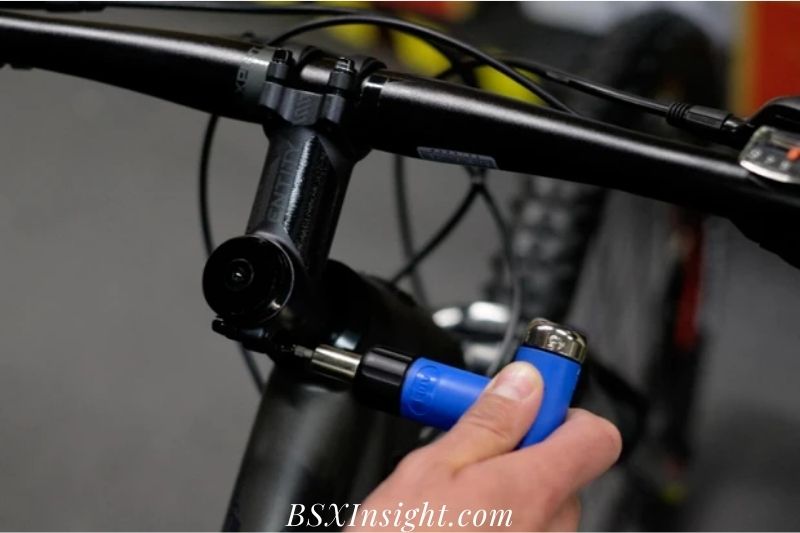
After the wheel and stem are in alignment, use a torque wrench to uniformly tighten the stem clamp bolts to the manufacturer’s suggested value. Typically, this ranges from 5 to 8Nm.
Step 9

Verify how your headset is adjusted.
To do this correctly, simply grip the front brake, place one hand on the headset, and gently move the bars back and forth. Check to see if the steerer is swaying inside the bike’s head tube.
If you experience this, you should first re-torque the stem clamp bolts after loosening the stem clamp bolts and turning the top cap bolt a further quarter turn.
Continue until there are no longer any indications of bearing movement and the handlebars are still turning smoothly. When twisting the handlebars, you’ll feel a tight place if the bolts have been overtightened.
It might be time to service or replace your headset bearings if your headset feels rough.
How To Flip The Stem On My Bike
If spacers are insufficient to provide the desired result, you can flip the stem to further adjust the bar height.
You can utilize the stem in the other direction from how it is often set up on mountain bikes, creating an upward angle.
The handlebar is then unbolted from the front of the stem while still following all the previous processes.
Step 1
While the bike’s wheels are firmly planted in the ground, mentally note the angles of the handlebars and brake levers.
You may ensure that you refit the faceplate and bars at the exact same angle by aligning a piece of masking tape on them.
Remove the bolts holding the handlebar to the stem’s front. The faceplate of the stem should be removed and stored securely.
Step 2

After letting the handlebar sag slightly to one side, continue with steps 1 through 4 above to swap out the spacers.
Step 3

Flip the stem over and then slip it back onto the steerer tube while it is still detached from the bike.
Step 4
Reinstall the handlebar, maintaining the brake lever and handlebar angle from the previous installation.
The faceplate to the recommended torque by the manufacturer (generally between 4 and 8Nm). Make sure that each bolt is tightened uniformly, one at a time, and that the face plate has an even gap from top to bottom. The handlebar is being pinched if the gap is not uniform.
Although it’s frequently the case, not all stems advise having a gap that’s evenly spaced across the top of the faceplate. If you are uncertain, see your user handbook.
In order to pre-load the headset and tighten the stem, follow steps 3 through 7 above.
How To Change The Quill Stem’s Height
Prior to the introduction of A-head/threadless style stems, quill stems were the standard. The majority of styles and disciplines of bikes still have them.
Quill stems are fastened using an expanding bung or a sliding wedge that presses on the inside of the steerer tube of the fork.
While slightly different than a threadless stem, adjusting their height is arguably simpler.
Step 1
Start by releasing the bolt at the stem’s top. The majority of bolts have a hex head, however some employ external bolts.
Step 2

You might be able to move the stem freely once it has been loosened.
To release the wedge or bung, you might need to gently hit the bolt on the stem with a hammer if the stem hasn’t been adjusted in a while.
Strike the bolt straight if it is protruding from the stem. You can tap the bolt with your hex key if it is flush with the top of the stem.
Step 3
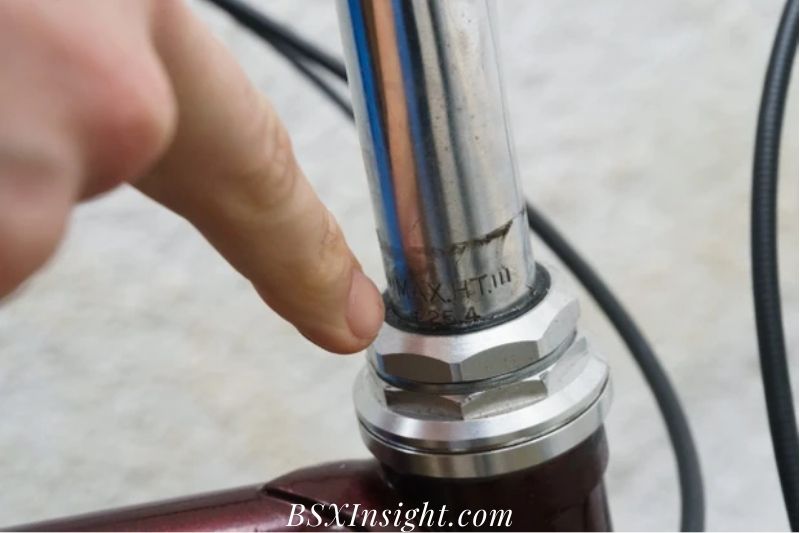
At this point, you can modify the stem any way you choose. Make sure to look for and follow any minimum and maximum insertion indications on the stem.
Quill stem shafts frequently seize if left dry, thus it is excellent practice to regularly lubricate them.
Step 4
Retighten the wedge bolt to specification after adjusting the height of your stem and aligning it with your front wheel.
You may now test out the bike’s improved handling on the road, trails, or both.
Finding the ideal height may need some patience and trial-and-error, but once you do, you’ll be much closer to using the bike to its full capacity.
How Do I Raise The Height Of My Bike Handlebar?

Here are quick guides to raising the handlebars of the following categories of bicycles:
- Mountain bikes
- Road bikes
- Kid’s bike
- Old bicycles
- BMX bike
How To Raise Handlebars On A Mountain Bike
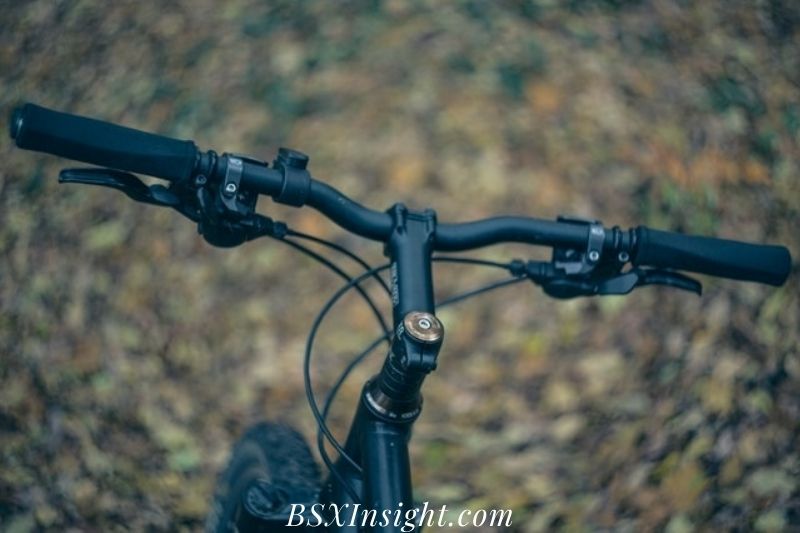
About 80% of mountain bikes have threadless headsets, whereas the remaining 20% have threaded headsets (about 20 percent of MTBs).
Let’s examine the mountain bike handlebar height extension before we distinguish between the two headsets.
One large top bolt and a few smaller ones that clamp the stem down are the only fasteners on a threadless headset. A threaded headset, on the other hand, has a single continuous metal tube that extends down the handlebar.
- a) A Threadless Headset’s Height To modify an MTB threadless headset, adhere to these stems:
- Locate and remove the big bolt from the stem.
- Remember, you’ll need an Allen key to loosen the bolts, and I recommend the Amazon Basics Hex Key Allen Wrench Set for that.
- Remember, you’ll need an Allen key to loosen the bolts, and I recommend the Amazon Basics Hex Key Allen Wrench Set for that.
- To draw the stem up from the bike tube, release the side screw on the handlebar with an Allen key. Then, add some spacers to elevate the handlebar.
- Finally, tighten the side screw on the stem until the handlebar is the proper height.
- b) How To Raise A Threaded Headset
To adjust an MTB threaded headset, do the following:
- You may find a wrench on the Amazon Basics page.
- To remove the ring holding the stem to the bike frame, use an Allen wrench set (what we call the hex nut).
- Return the stem, but remember to adjust it to your preferred height.
How to Raise the Handlebars on a Road Bike

An Allen key and an adjustable wrench are also needed to raise the handlebar on a road bike. Even prominent bicycle handlebar risers are not necessary.
The essential steps to take in that circumstance are as follows:
- To release the handlebar, remove the Allen key from the stem’s bolt.
- Make that the two tiny nuts holding the handlebar are also loosened.
- When necessary, use the adjusting wrench.
- Now raise the handlebar to the height you desire. If the stem seems dry, lubricate it first before readjusting it.
- Make careful to re-bolt the handlebar at your favorite height while you’re at it.
- Before driving, properly tighten it.
How to Properly Raise a Child’s Bike Handles
The handlebars on children’s bikes can be simply adjusted if you have an Allen key set.
The essential stages for raising the handlebar on your child’s bike are as follows:
- Remove the nut or bolt from the bike stem.
- Pull the handlebar up gently and carefully until it is at the height you prefer.
- If you like, you can even turn the bike’s handlebars.
- Make sure the handlebars and seat of the bicycle are appropriately positioned.
- Now, tightly tighten the handlebar as before.
How to Raise the Handlebars on an Old Bike
An ancient bike’s handlebars can be raised if you have an Allen key and a wrench.
The general steps are as follows:
- Loosen the stem bolt with an Allen key.
- Pull up the handlebar after loosening the nuts using an Allen key.
- The handlebar could be lifted by using the wrench to loosen any obstructions.
- Before putting the handlebar back in place, grease the stem.
- While you’re at it, raise it to the desired height and tighten it there.
How to Raise Handlebars on a BMX Bike
A BMX handlebar can be raised most simply by altering the frame.
The steps to do it are as follows:
- Place the BMX on a level surface; locate the stem’s bolts and loosen them with an Allen key.
- Remove the stem’s top cap.
- Adjust the stem and add some spacers to raise the handlebars.
- Realign the stem to match the position of your front wheel.
- Tighten the stem firmly as it was.
Remember to think about turning the stem using the methods I described in Option 2 above if you don’t have enough spacers to add.
Read also about how to change bike inner tube, how to pump a bike tire.
Watch this video to learn in-depth about how to raise bike handlebars
Conclusion
To raise the handlebars on a bicycle, first, loosen the bolts that hold them in place. Then, lift the handlebars and tighten the bolts back down. Make sure that the handlebars are at a comfortable height for you before you ride. Hope that you can find it useful in this article. Thanks for reading!