If your bike chain is loose, it can cause the gears to slip or make a rattling noise. Fortunately, it’s easy to fix a loose bike chain with just a few simple tools. Here’s a step-by-step guide on how to tighten a bike chain.
How To Tighten A Bike Chain On A Single Gear Bike
Single-gear bicycles may be unfamiliar to those who have never ridden one before. This bike has a cog rather than a freewheel mechanism in the rear wheel. After the cog is turned, the wheels move.

How to fix a loose chain on a fixie bike
The following equipment is required:
- A socket wrench
- A bike stand or a surface that you can place your bike upside-down on.
- High-quality bike lubricant
- A rag
- A pair of gloves
It is ideal and highly recommended to have a Bike Repair Tool Kit.
Step 1: To Begin, Position Your Bicycle Correctly
It’s possible to tighten a bike chain while the bike is upright if you’re an expert, but I strongly advise you to flip the bike over to have easy access to all of the components and some of the best bike chain degreasers you can find.
Make sure your bike wheels are in the air, and your saddle is on a bike stand. When not using a bike stand, lay out a soft surface (such as a cardboard box or a layer of newspapers) to avoid scratching the saddle during transport.
Step 2: Loosen The Rear Axle
The nuts holding the tire to the bike must be removed before adjusting the chain. If the nuts don’t budge, use an anti-clockwise rotation with a socket wrench if the nuts don’t budge.
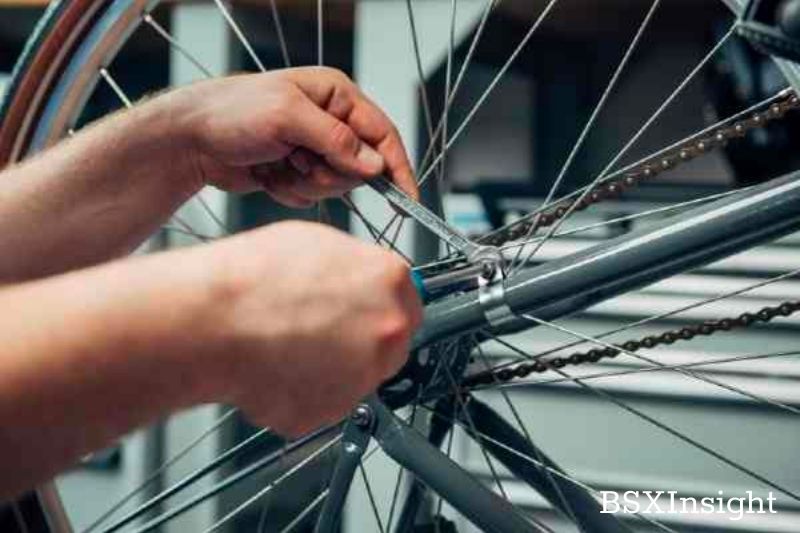
Step 3: To Reverse The Direction Of The Rear Tire’s Rotation
Increase the pressure on the chain with this step. To adjust chain tension, slowly pull back on the rear tire.
The bicycle chain can be snapped if you move too quickly during this procedure. Check the bike chain tension as you pull back and continue until you achieve the desired tightness. Ideally, you should be able to move the chain about half an inch in either direction.
This will make it easier for you to tighten the tire once you’ve loosened it.
Step 4: Make Sure You Have The Correct Chain Tension
To recap, the chain should be able to move half an inch in either direction, but I’d like to discuss it a little further. The chain tension will change as you pull the tire back, and you can feel it as you do so.
This means it isn’t tight enough and needs to be pushed down on the tire a bit more.
It’s critical to get this step right because if it’s too tight, you won’t be able to turn the pedals.
Step 5: Reinstall The Rear Tire
Lift the rear tire and reinstall the wheel axle nuts if you’re satisfied with the perfect chain tension. Replace each one simultaneously, using the socket wrench to ensure they are all securely fastened.
The tire must be reinstalled onto the vehicle’s frame correctly. To be correctly installed, it should not come into contact with the bike’s frame or chain.
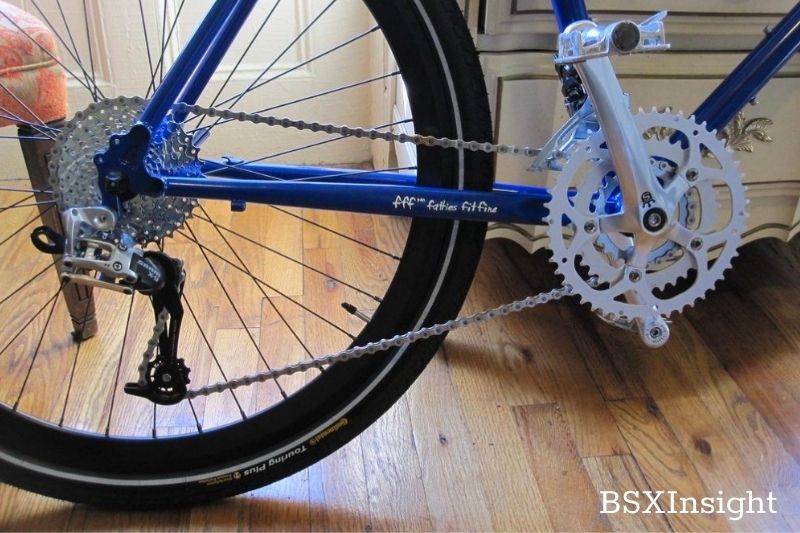
Step 6: Check the chain and the tires for damage.
The chain should be able to move half an inch in either direction with ease. Make sure the tire spins freely and does not come into contact with the chain or bike frame while moving (if it does, you’ve put it back on incorrectly and need to repeat the process). Spin the tire until it moves freely.
Your fixie is now ready for the road after re-tightening the chain.
Using a Derailleur To Tighten Your Bike Chain
When a fixie’s chain comes loose, it doesn’t pose much risk. However, an open chain on a multi-gear bike can pose a real danger because your foot can get caught and cause severe injury.
Get off your multi-gear bike as soon as you notice that the chain is loose and walk to a repair shop.
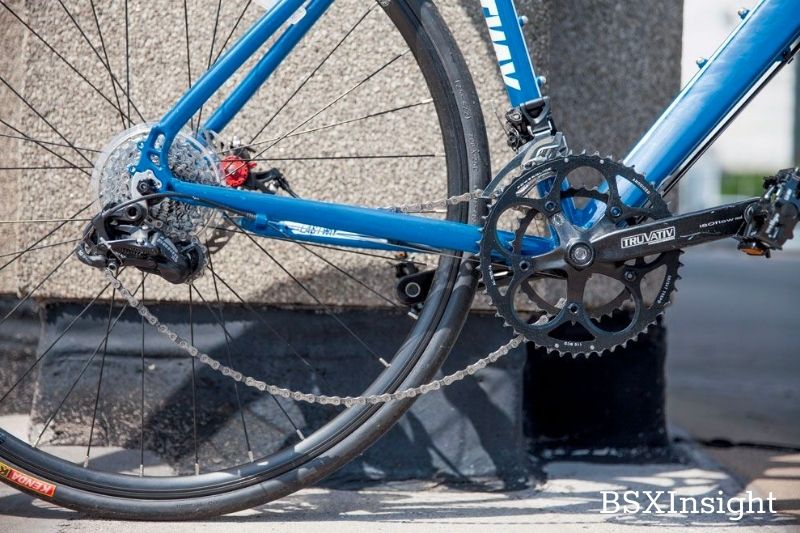
With the right tools and knowledge, you can fix the bike chain right away. What you must do is as follows:
Step 1: Putting The Bike Where You Want It To Be
Using a bike stand, place the bike upside down to access the tire and derailleur. A soft surface that won’t scratch your saddle or handlebars will suffice without a bike stand.
Step 2: Find The Screw For The Derailleur
The derailleur on multi-gear bikes has a screw at the back. The derailleur screw is usually located next to the letter B on most bicycles. You’ll need to turn this screw clockwise in a tightening motion to raise the chain tension.
Step 3: Access And Adjust The Rear Tire
To access the rear tire, lift the brake lever and raise it so that the brakes are disconnected from the cable.
This is the final step in adjusting your rear tires.
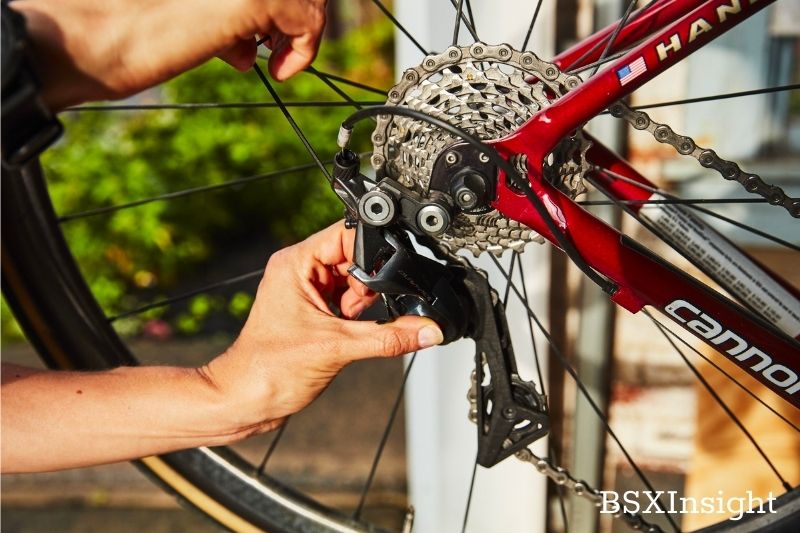
To tighten the chain on a derailleur, slowly slide the wheel’s axle toward the rear dropouts. You don’t want to over-tighten the chain.
Each time you adjust, check the chain tension by lowering the brake lever. The lever can be reduced if you’re not satisfied with the final result.
Maybe you need this guide: How To Adjust Bike Brakes
Step 5: Reassemble Everything
All of your gear should be put back together, and the derailleur screw tightened once you are satisfied with the amount of tension in your chain.
Ensure that the tire does not contact the bike’s frame or the chain. Make sure it is spinning correctly.
The process can be repeated if you aren’t satisfied with the tension.
All of this may seem tedious at first, but you’ll be an expert after a few attempts. Protect your fingers with gloves and have an absorbent cloth nearby if any lube drips onto your hands while working.
How Does A Bike Chain Work?
Bike chains are essential parts of the machine. Mechanical energy is generated and transferred through pedaling to propel the bike forward. The rider can’t move the bike forward if the clutch is loose because of the reduced power transfer.
Even if your chain is a little slack, you can still ride, but knowing how to tighten it will make your ride go more smoothly.
The rear derailleur provides the best tension on a bike with derailleurs. Rotating the two rings on a fixed-gear bicycle with only two chainrings lets you align the chain properly.
The correct chain tension can be achieved by turning the cranks properly, fitting the bolts properly, and using the proper lubricant.
FAQs
What causes my bike chain to become loose?
No matter how diligently you maintain your bike, the chain will eventually come off. There are a variety of possible causes for this.
New chains on old bikes are one of the most common fixes.
Putting a new chain on a worn-out bike will not fit properly anymore. In time, it will become loose or fall off entirely. Do not be alarmed if this occurs; follow the steps outlined here to tighten the chain until it fits snugly in the cog and stops coming loose.
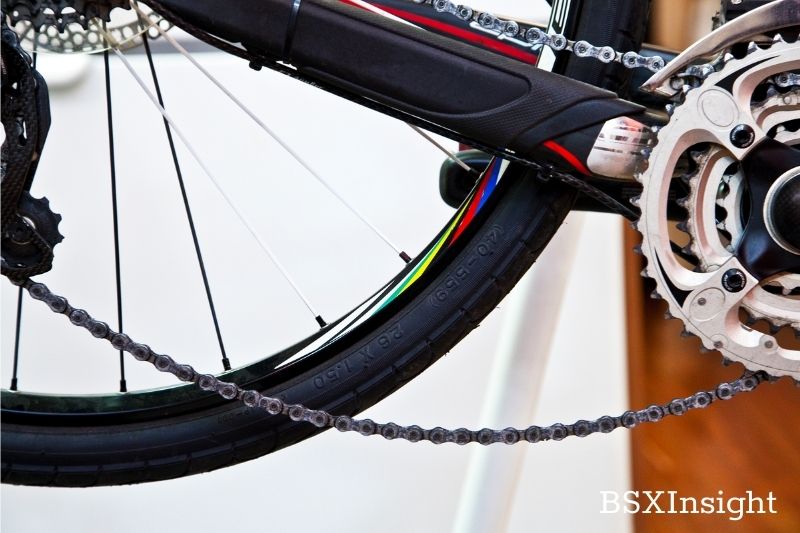
A worn-out chain that no longer fits properly in the cogs, such as an old one, will also come loose. Replacement is the only option for a chain like this.
The pedal-to-wheel distance can be reduced if the rear axle nuts are loose, shortening the length.
Derailleur damage is a common problem for bikes with multiple gears. The derailleur should be checked if you frequently have to tighten your chain on this type of bike.
Is a loose chain dangerous?
A slack chain isn’t as serious as a faulty rim or a weakened frame. It’s more of an inconvenience than anything else if your single-speed bike chain comes undone in Naples, FL. Inefficient pedaling is also caused by chains that are too loose. To avoid further frustration, you should fix an open chain as soon as possible.
How tight of a chain should I use?
A half-inch movement in either direction should be possible. Even after following the instructions here, there may be slack in your bike chain because the chain itself has grown longer over time; you may need to remove a few link lengths to get the right amount of tension.
Does lubricating the chain affect its tension?
In other words, if you don’t keep the chain clean and lubricated, it will rust and wear out faster, causing the chain to be looser more frequently. Chain lubrication makes riding your bike more enjoyable and extends the life of your chain.
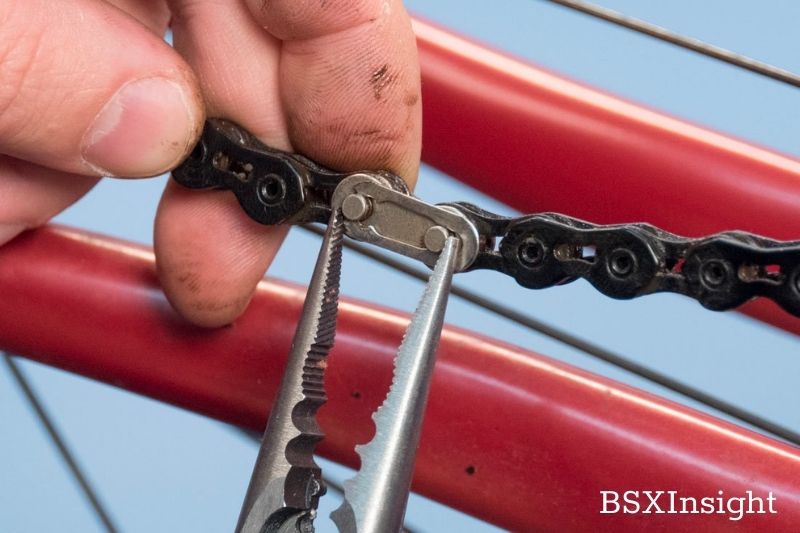
Is it possible to tighten a bike chain more quickly and easily?
If you’re not a fan of tinkering around with your bike, adjusting the chain tension may seem daunting.
Sadly, there are no shortcuts to success. These are the steps to follow if the chain on your bike becomes loose, regardless of whether it is a fixie or a derailleur.
It’s possible, however, that you don’t have to do it all yourself. Once a month, take your bike to a reliable bike shop in your area for bike maintenance. In addition to cleaning and lubricating the chain, they will also check the tension and, if necessary, make only small adjustments.
How to tighten a bike chain with Shimano gears?
Turn the bike over or place it on a bike stand before tightening the chain on a fixed-gear cycle. To tighten the chain, loosen the rear axle and drag the rear tire back. Check that the chain isn’t too tight or too loose before tightening the rear tire again.
What’s better? to tighten the chain or replace it?
It depends; it’s time to get a new one if the chain loosens because it’s old. Most bikes’ chains can be replaced for a reasonable price, which will help you get more mileage out of your bike.
But if the chain is only a few years old, don’t buy another one. Everything should be fine after you tighten it up.
Video
Conclusion
The consensus on tightening a bike chain is that it’s best to use a small adjustable wrench, ideally with fine adjustment. This way, you can tighten your chain just enough to work correctly without hurting the gears or making noise.
Hopefully, this blog post by BSXInsight has given you an idea of how to tighten a bike chain and saved you a lot of money.

